Quick Start
From a zip file to a live newsroom and a store-ready app: backend, first run, scheduler, app, go-live.
Item: MediaDesk — Multilingual AI-Powered Newsroom ERP
The Fast Path
New here? Read Start Here: Who Does What first. Steps 1, 3 and 4 below need a server administrator or developer (terminal, cron, Flutter SDK). Step 2 and everything after go-live are done in the admin panel by anyone. Minimum Setup to Go Live lists what is required and what can wait; Branding Without Code shows how to change the logo, colours and front page.
MediaDesk ships as two projects: a Laravel web application (the website, the admin panel and the REST API) and a Flutter mobile app that talks to that API. Install the web application first; the app needs a running backend with an https:// address before it can be released.
Third-party services and ongoing costs. MediaDesk works with external services that you sign up for and pay for yourself: hosting and domain, e-mail delivery (SMTP, Mailgun, Postmark, Amazon SES, Brevo), payment gateways (Stripe, PayPal, SSLCOMMERZ, bKash and the others; transaction and provider fees), Firebase Cloud Messaging for app push, AI providers (Anthropic, Google Gemini, OpenAI), object storage and CDN (Amazon S3, Cloudflare R2, Backblaze B2, Bunny), video hosting or embeds (YouTube and similar), and the Apple Developer Program and Google Play Console for the mobile app. You are responsible for your own accounts with these providers and for any current or future fees they charge; none of them is included in the item price. Every one of them is optional except hosting.
What Is in the Package
Your download contains the Laravel project in Main_Files/WebSourceCode, the Flutter project in Main_Files/AppSourceCode, and this documentation. The Laravel project ships with Blade views and Tailwind CSS 4 / Vite sources. Composer packages (vendor/) and compiled front-end assets (public/build) are not included: you install them once with Composer and npm (step 1 below). The Flutter project ships without build/ folders; flutter pub get and flutter build create them.
| Part | Needs | Result |
|---|---|---|
| WebSourceCode (Laravel 13) | PHP 8.3+, MySQL 8 / MariaDB 10.6+, Apache or nginx, Composer 2, Node.js 20+ | Website + admin + /api/v1 |
| AppSourceCode (Flutter 3.44 / Dart 3.12) | Flutter SDK, Android Studio and/or Xcode (macOS for iOS) | Android and iOS app v1.2.0 |
1. Install the Backend
Step-by-step guides: VPS Installation (your own server with SSH) or cPanel Installation (shared hosting, no SSH needed).
Create the database
Create an empty database and a user with full rights on that database only, utf8mb4. The installer refuses a user who can see tables in other databases.
Upload and point the domain
Upload
Main_Files/WebSourceCodeto the server and point the domain (or a sub-domain) at itspublic/folder. Makestorage/,bootstrap/cache/and the project root (for.env) writable by the web user. Inside that folder, install the PHP dependencies and build the front-end assets:composer install --no-dev --optimize-autoloader, thennpm ci && npm run build. Both are required becausevendor/andpublic/buildare not shipped. No SSH on your host? Follow the cPanel Installation guide. Then copy.env.exampleto.env: without that file the installer answers with a 500 error.Open the installer
Just open your domain: until the installer has run (no
storage/installedlock file andAPP_INSTALLnottruein.env; the shipped.env.examplehasAPP_INSTALL=false), every page redirects to/installautomatically (API calls get a503JSON answer). The wizard checks PHP 8.3+ and extensions (curl, fileinfo, exif, mbstring, intl, pdo_mysql, openssl, json, xml, ctype, tokenizer, gd), asks for database credentials and the app URL, then your administrator name, e-mail and password. The database must be empty: a database that already contains tables is refused and left untouched, and.envis not written.Let it run
It writes
.env(production, debug off), runs the migrations (nevermigrate:fresh, nothing is dropped), seeds roles, permissions, languages, currencies and settings, creates your Super Admin, then locks itself: it writes the lock filestorage/installedand setsAPP_INSTALL=truein.env. From then on every/installURL answers 404 for good. The site starts empty.Sign in
Open
/loginwith the administrator you created.
CREATE DATABASE mediadesk CHARACTER SET utf8mb4 COLLATE utf8mb4_unicode_ci;
CREATE USER 'mediadesk'@'localhost' IDENTIFIED BY 'a-strong-password';
GRANT ALL PRIVILEGES ON mediadesk.* TO 'mediadesk'@'localhost';
FLUSH PRIVILEGES;
Command-line install instead of the wizard is possible and documented in the Web Panel guide. Do not run php artisan db:seed --class=FrontendDemoSeeder on a real site: it replaces your articles with sample content.
Check afterwards with php artisan mediadesk:doctor.
The installer never reopens by itself. Once storage/installed exists (or APP_INSTALL=true is set), losing APP_INSTALL from .env, replacing .env or a database outage does not bring the installer back: the site shows an error page until the DB_* values are correct. The installer can therefore never overwrite your database credentials or your data. To run it again on purpose (on a new, empty database), delete storage/installed and set APP_INSTALL=false.
Moving an existing site to a new server or restoring a backup: copy storage/installed along with storage/ (or set APP_INSTALL=true) and check the DB_* values in .env. After changing .env run php artisan config:clear.
2. First Run
Site identity
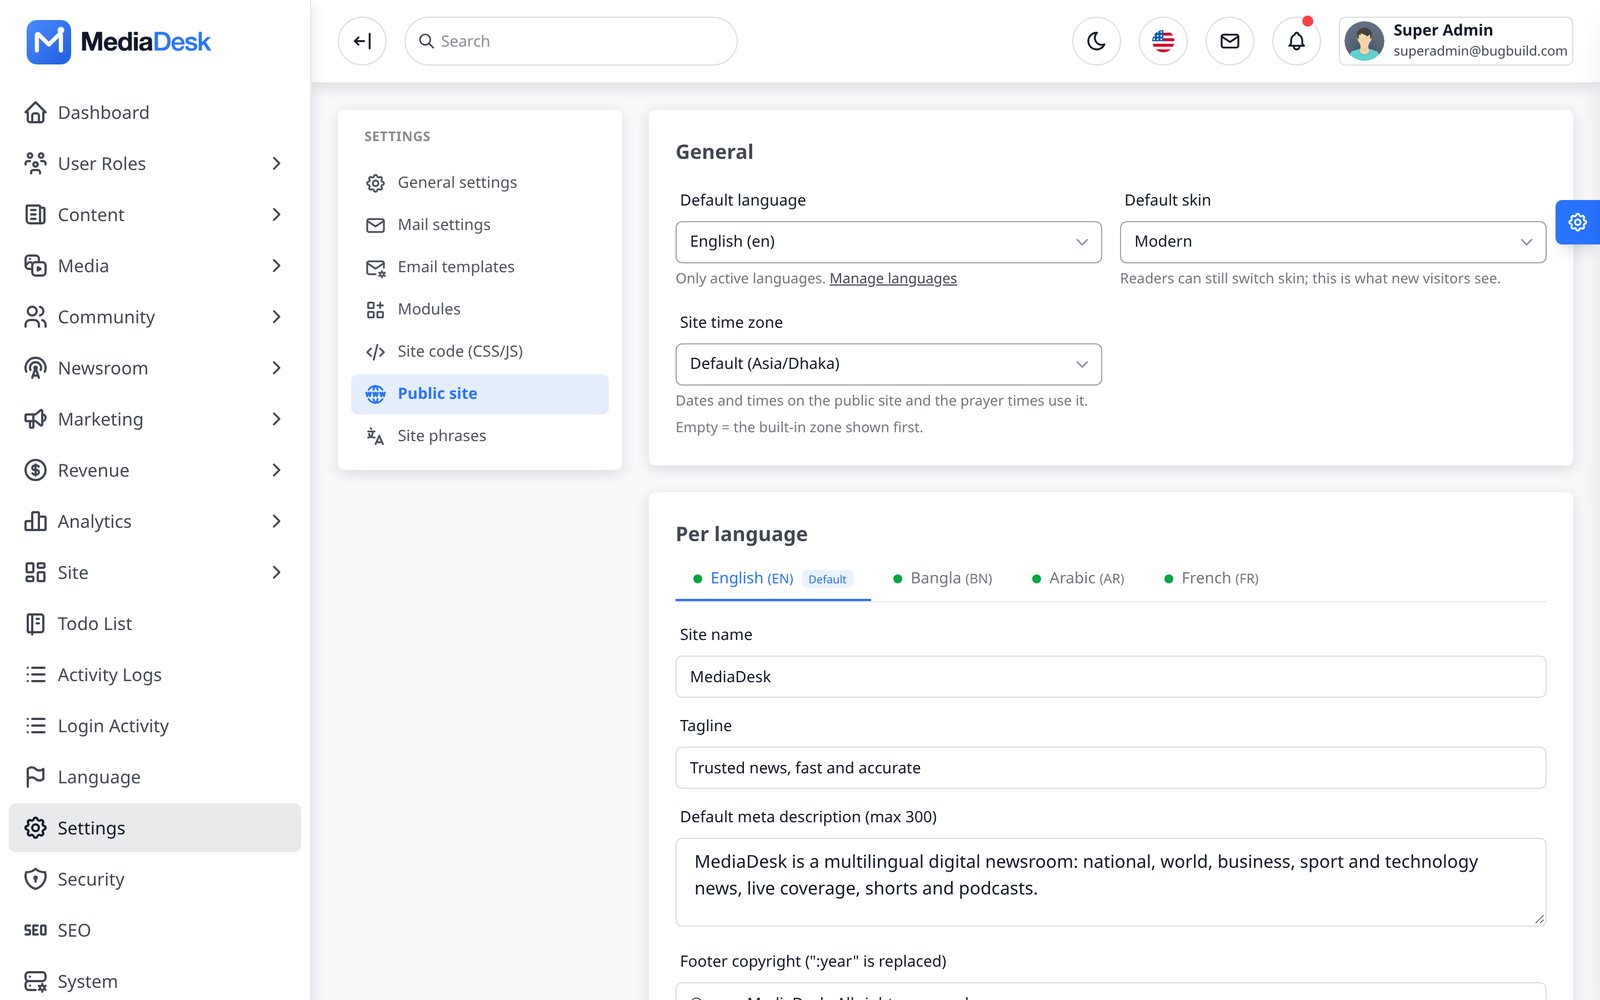
Settings → Public site: default language, default skin, site name, tagline and description for each language. Settings → General settings: light and dark logo, favicon.
Languages
Bangla, English, Arabic (RTL) and French are available out of the box. Disable the ones you do not publish in the Language module; add more with their phrase files (details).
Mail
Settings → Integrations → Mail / SMTP, then Test connection or Tools → Diagnostics → Send test email. Until then
MAIL_MAILER=logonly writes mail tostorage/logs/laravel.log. See Mail.Content structure
Create categories, authors and navigation (Appearance → Navigation, Home layout). Switch off modules you will not use in Platform → Modules.
First article
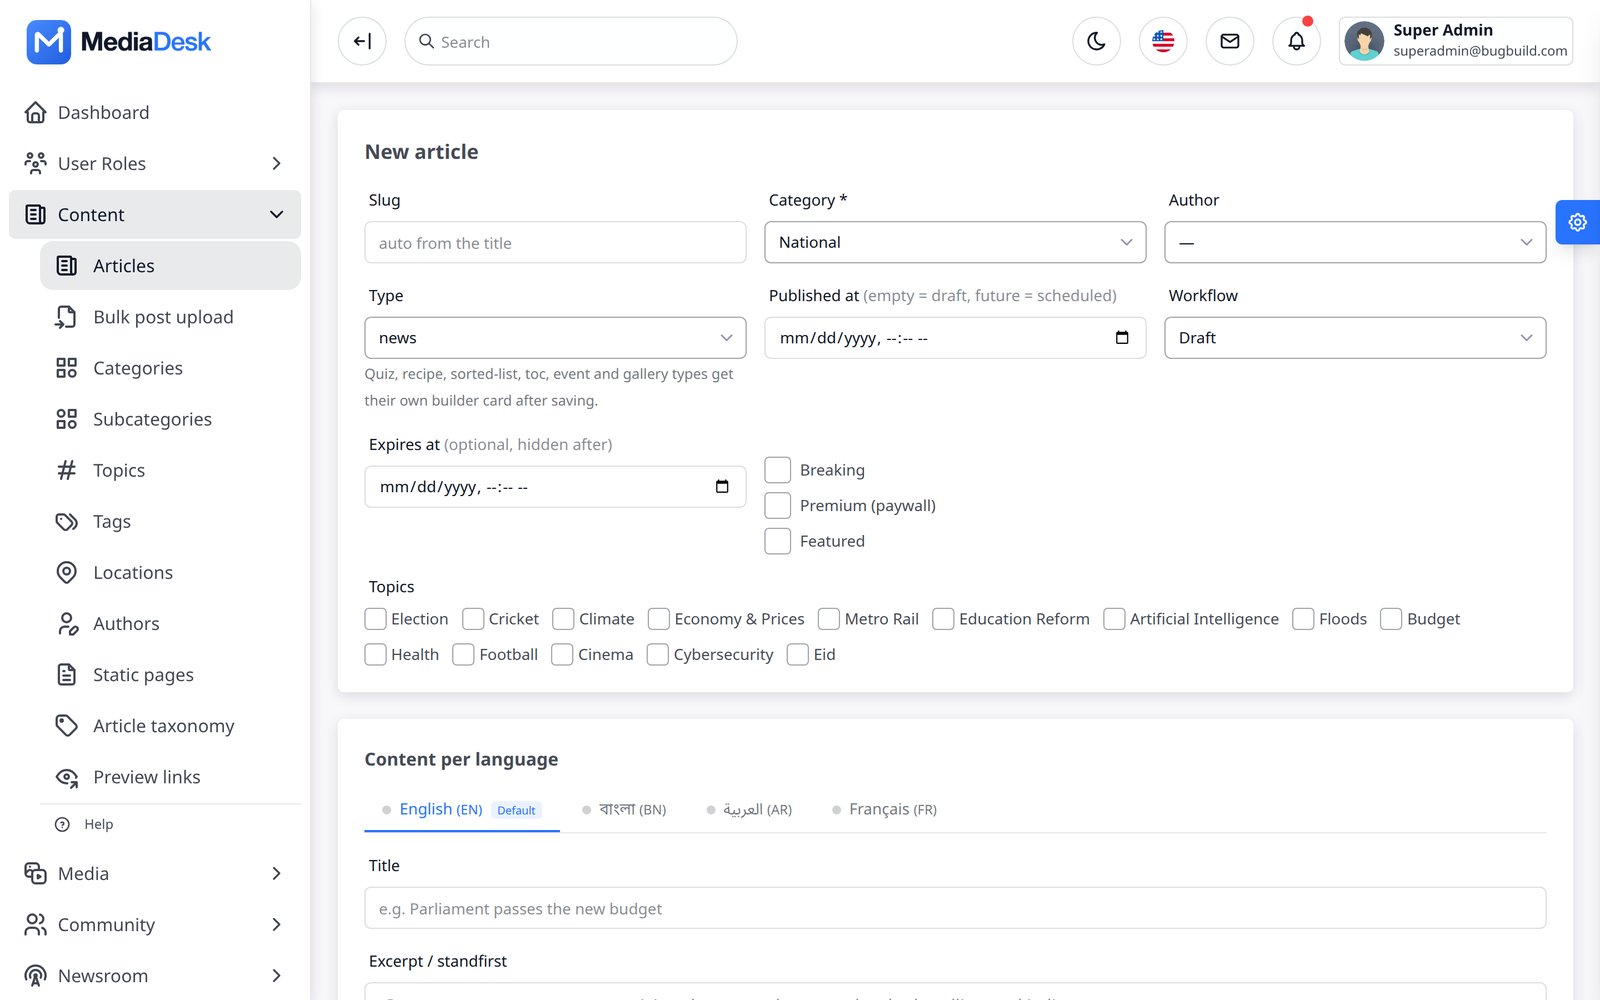
Content → Articles → New article. Publish it and open
/ento see it.Team
Create staff accounts and assign roles under User Roles. Turn on two-factor authentication for admins in Platform → Security.
3. Scheduler & Queue
Two background pieces are required for newsletters, push, social posts, membership renewals, e-paper PDFs, view counters, ad counters and the finance ledger:
# crontab -e (as the web user)
* * * * * cd /var/www/mediadesk && php artisan schedule:run >> /dev/null 2>&1

# Supervisor program (see Common Setup for the full file)
php /var/www/mediadesk/artisan queue:work redis --sleep=3 --tries=1 --max-time=3600
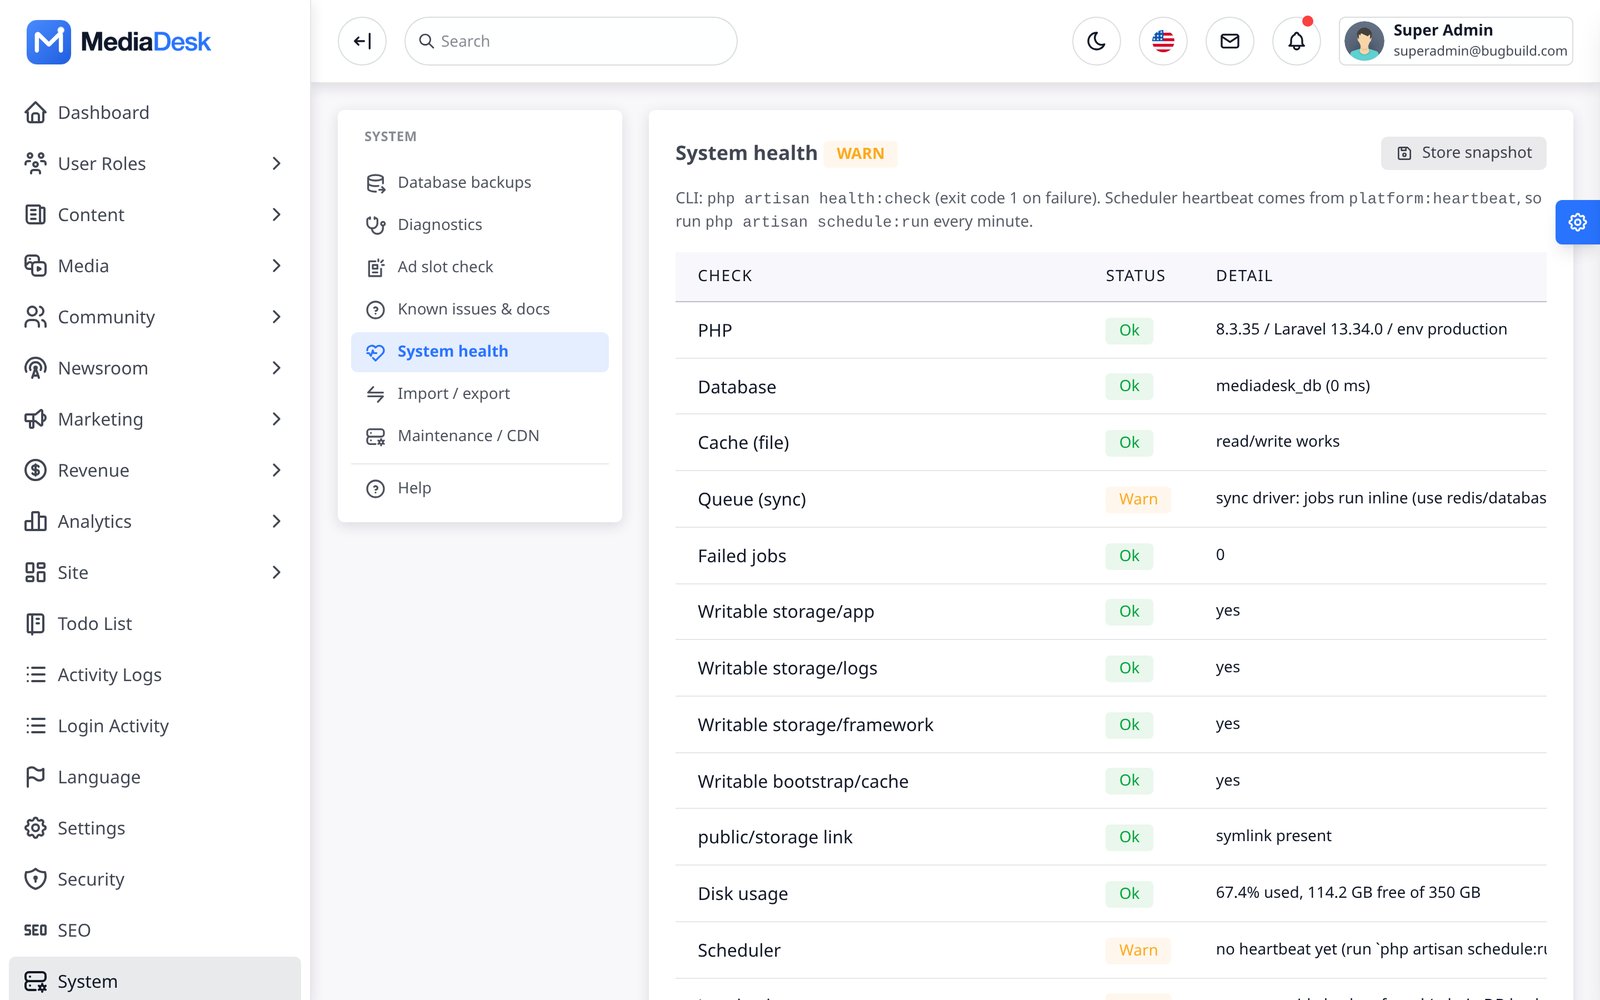
Set QUEUE_CONNECTION=redis (or database after php artisan queue:table && php artisan migrate) in .env. Verify on Platform → System health: the scheduler heartbeat should be fresh. Full details: Queue, cron & scheduler.
4. Build the App
The Flutter app reads its server address at build time. Use the same https:// domain you just installed (no trailing slash and without /api/v1).
cd Main_Files/AppSourceCode
flutter pub get
flutter run --dart-define=API_BASE=https://your-domain.com

# release
flutter build appbundle --release --dart-define=API_BASE=https://your-domain.com   # Android (Play Store)
flutter build ipa --release --dart-define=API_BASE=https://your-domain.com         # iOS (macOS + Xcode)
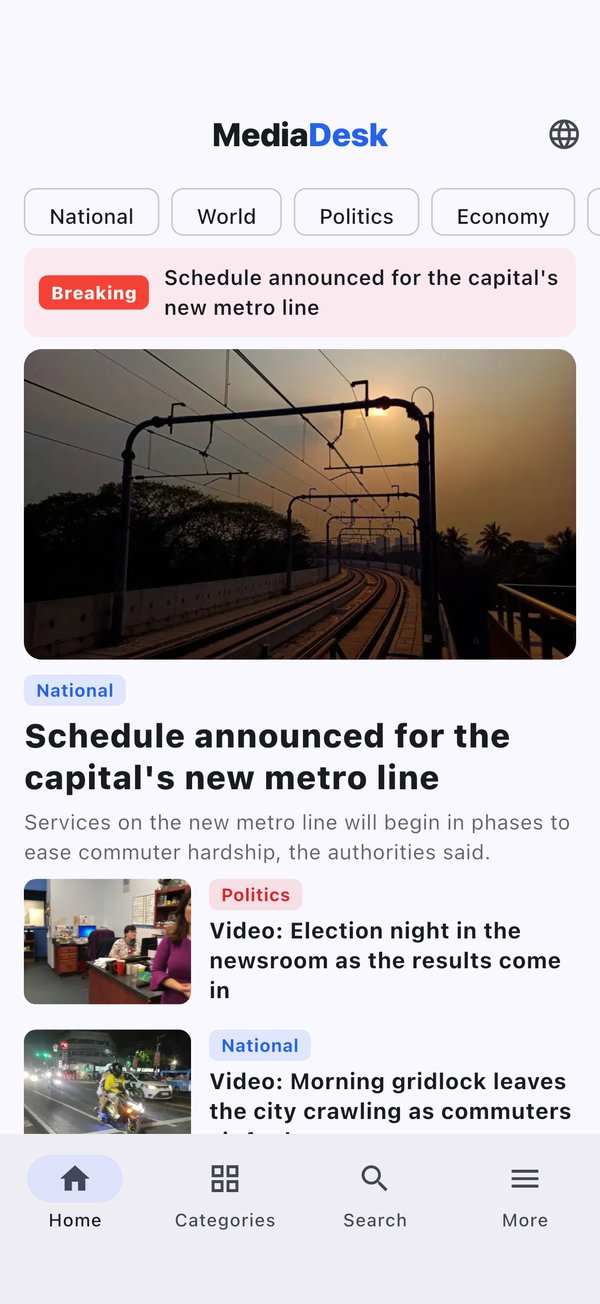
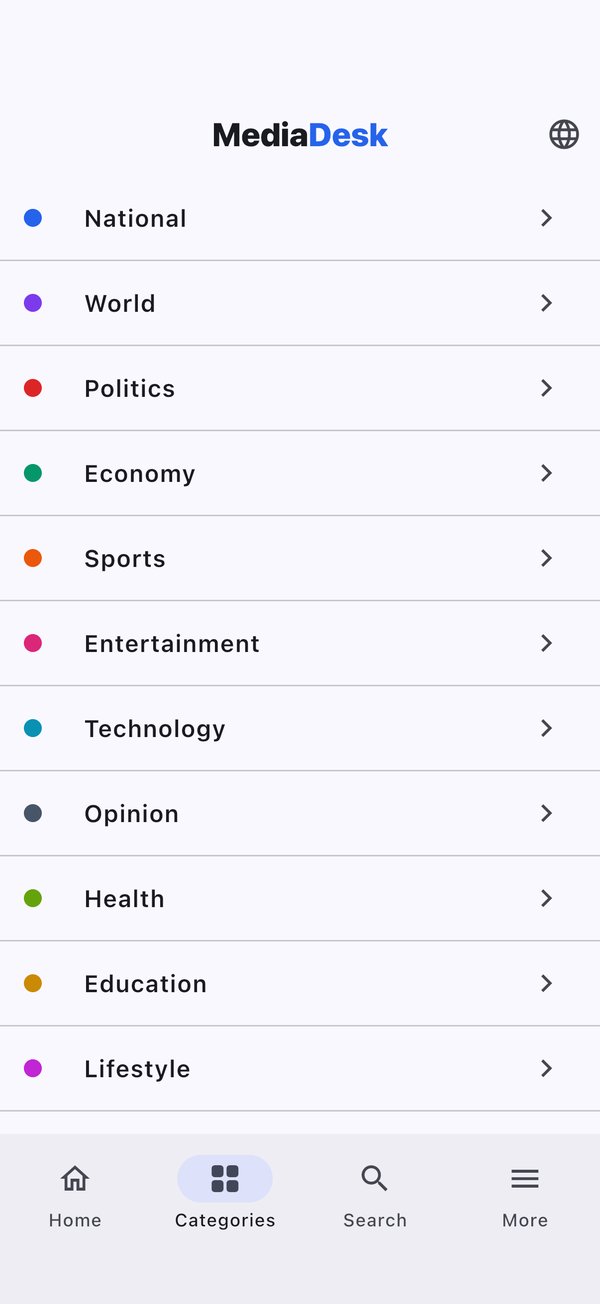
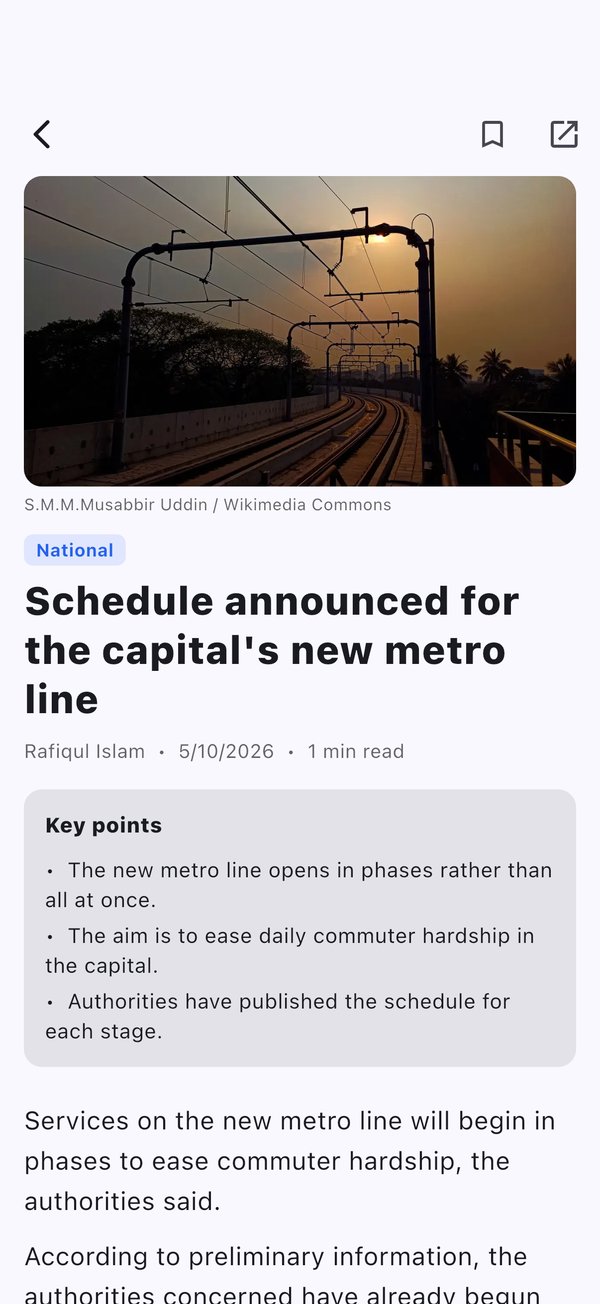
Before store release: choose your own app name, icon, Android applicationId and iOS bundle id, add Firebase for push, and sign the build. All of that is in Mobile App. The app needs the Mobile / Public API v1 module enabled (default on) and at least one published article to show content.
5. Go-Live Checklist
Only the required items in Minimum Setup to Go Live must be done before launch; the list below is the complete production checklist, including optional features.
APP_ENV=production,APP_DEBUG=false,APP_URLis the realhttps://origin (the installer sets these)- HTTPS certificate installed;
SESSION_SECURE_COOKIE=true; domain points atpublic/;.envis not web-accessible - Any sample staff accounts from a command-line
db:seed([email protected],[email protected],[email protected], password12345678) deleted or changed; installer Super Admin has a strong password and 2FA PANEL_REGISTRATION=false(the default) unless you really want staff self sign-up at/register;APP_DEMO=false- Time zone (Settings → Public site or
SITE_TIMEZONE) and base currency (Finance → Currencies orAPP_CURRENCY) set for your market php artisan storage:linkdone andpublic/storagepoints inside this project- SMTP configured and a test e-mail received (Tools → Diagnostics)
- Cron entry running and a queue worker under Supervisor; System health is green;
php artisan queue:restartin your deploy script CACHE_STORE=redis(optional but recommended),php artisan optimize(caches config, events, routes and views)- Media on local disk backed up, or S3/R2/B2 configured and tested in Integrations
- Payment gateways tested in sandbox, webhook URLs registered (
/membership/webhook/{gateway}), then sandbox switched off - VAPID keys (web push) and Firebase service account (app push) added and a test push sent
- Search indexing enabled (
APP_ENV=productionorSEO_INDEXABLE=true); sitemap/sitemap.xmland/sitemap-news.xmlsubmitted in Search Console - CDN in front (optional): add the bypass paths from Common Setup → CDN (plain paths, ready to paste)
- Nightly database dump and a copy of
storage/app/publicand.env - Mobile app built with your
API_BASE, own name/icon/bundle id, release signing, privacy policy URL; your own Firebase project for push (Google Firebase dependency)